Power your Arduino Spark Core Weather Station from Solar
This project is in response to a number of customers who’ve asked us about using solar to power their IOT sensing projects and then publish their results in real-time to the web. This Arduino Spark Core Weather Station project publishes the data via WiFi and future projects will do so via GSM. The code for this tutorial and initial testing was done by Max Henstell @mhenstell and http://kapamaki.net/
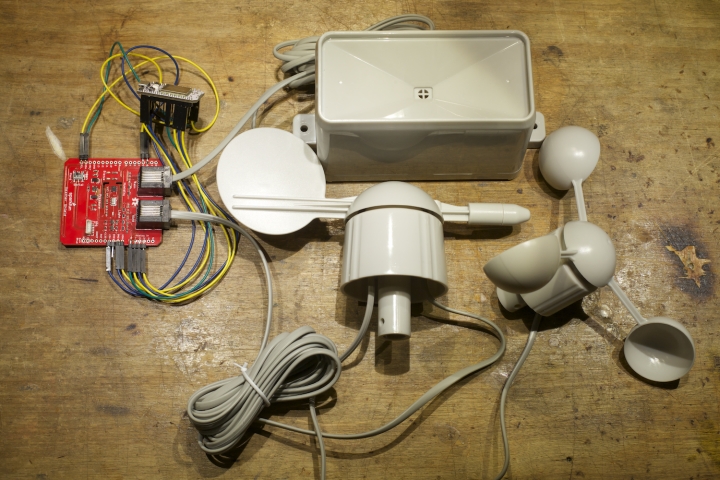
The parts are:
- Voltaic 9 Watt Solar Charger Kit ($85)
- 4 Foot Extension Cord ($6)
- Spark Core (with external antenna connection) ($39)
- SparkFun Weather Shield ($40)
- SparkFun Weather Meters ($69)
- 11 Female to Female pin jumpers ($25)
- Parts for the Solar Battery Case ($20-$35)
- uFL to RPSMA Adapter ($4)
- External WiFi Antenna ($7)
13/64”, 3/8”, and1/4” drill bits (or close, doesn’t have to be exact)
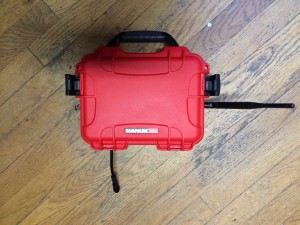
We put the guts inside of a modified weatherproof case similar to the setup in our battery case tutorial. For this build we used a Nanuk 904 case that was modified with an 8-pin waterproof plug, and a waterproof plastic cable gland sealed with silicone.
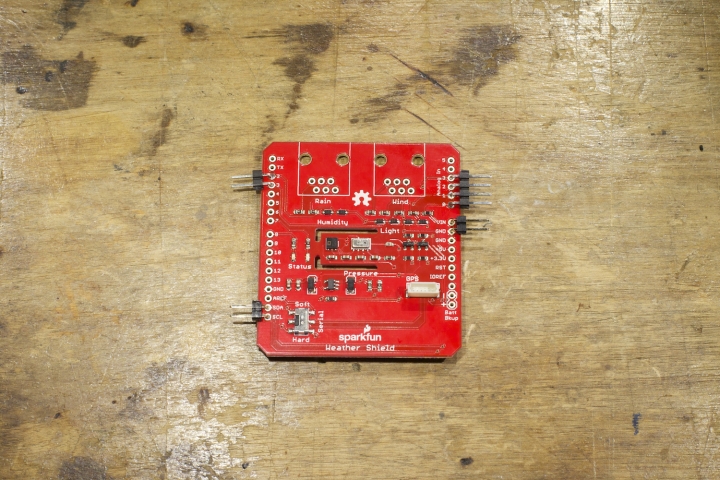
1) Start by soldering the right-angle headers onto your SparkFun Weather Shield. You can solder them to every hole if you’d like, or just the ones we need (see the table below).
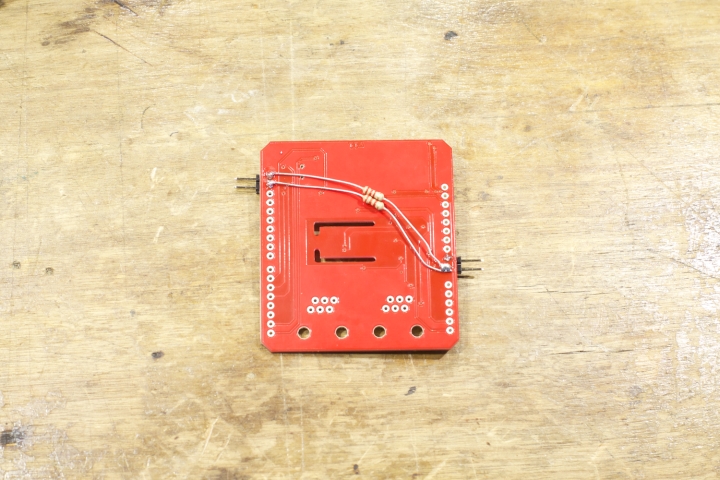
2) Next, we’ll need to solder two “pull-up” resistors to the I2C data lines (the pins labeled SDA and SCL). I’ve soldered them to the back of my shield. The resistors connect the SDA and SCL pins to the VIN (or voltage-in) pin. Make sure you don’t short the SDA and SCL lines together.
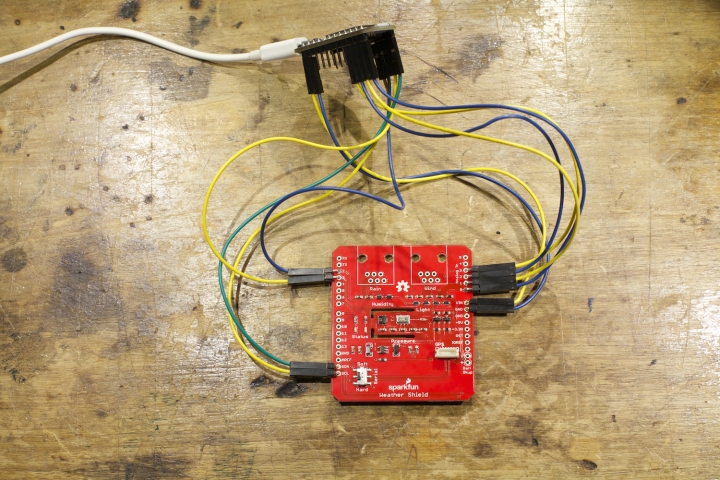
3) Using the female-to-female pin jumpers, connect your weather shield to your Spark Core. The wires should be connected like this:
| Weather Shield | Spark Core |
|---|---|
| VIN | VIN |
| GND | GND |
| +5V | 3V3 |
| 2 | D2 |
| 3 | D3 |
| Analog In 0 | A0 |
| Analog In 1 | A1 |
| Analog In 2 | A2 |
| Analog In 3 | A3 |
| SDA | D0 |
| SCL | D1 |
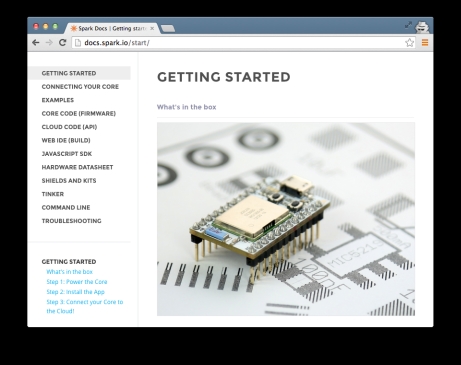
4) Time to set up your Spark Core and test it out! Plug your wind and rain sensors into the weather shield (follow the markings on the board) and follow the instructions on Spark’s website to set up your Spark Core. Remember your Spark username and password, you’ll need those to sign in to their website to upload code. (Note: if you have difficulty connecting to your Spark Core, try another WiFi network, and follow the detailed instructions on their website). Note: new Spark Cores are black, but otherwise are exactly the same.
5) Now you should be online with your Spark Core, and ready to load the software for driving your weather station. Open the Spark web IDE and enter the account information you created earlier to get started. You should be greeted with a page that looks like this:
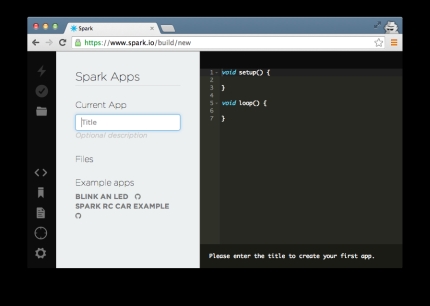
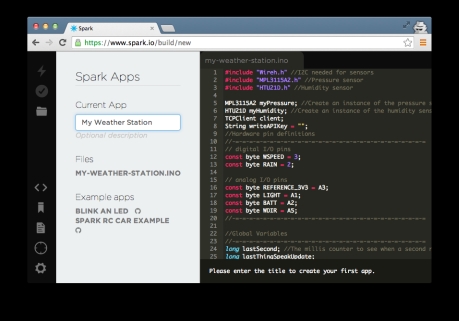
Name your app (I used “My Weather Station”). Open this code for the weather station, and copy and paste the whole document into your new app in the Spark IDE, replacing the starter code that came with it.
You’ll also need to include a few community libraries. Click the libraries button on the left, and using the search box, find the ONEWIRE library. Click on ONEWIRE, then click “Include In App,” select your app, then click “Add To This App.” Do the same for the HTU21D and ADAFRUIT_MPL3115A2 libraries.
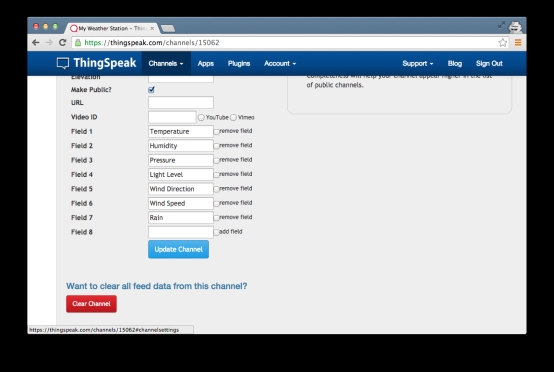
6) Next, sign up for an account on ThingSpeak. This is where we’ll be posting our collected weather information. Click “Create New Channel” and fill out your channel’s information. Enter the following information in your channel fields:
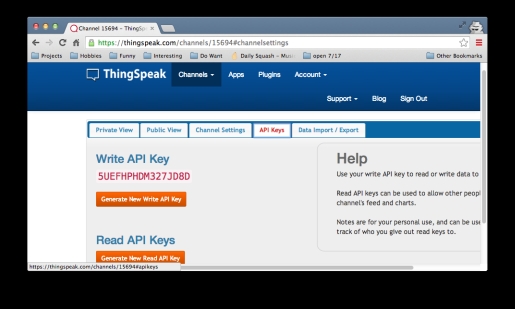
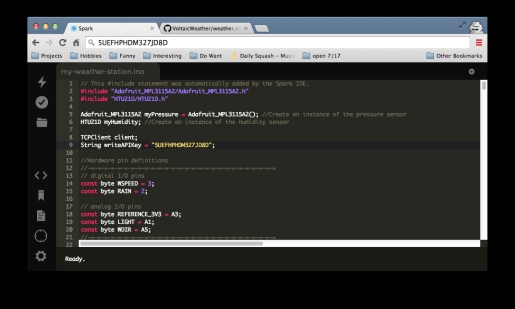
7) Next, on ThingSpeak, click the API Keys tab. Copy your Write API Key. You’ll need to put this into your Spark app to be able to talk to ThingSpeak. Go back to your app in the Spark IDE and find the line near the top that says String writeAPIKey. Paste your ThingSpeak Write API Key (the key pictured is inactive) between the quotes, then save your code by clicking on the folder icon.
8) You’re now ready to upload your code to your Spark Core! Flash your code by clicking on the lightning icon. You should be prompted to select which Core you would like to flash. Select the Spark Core you claimed in the above step. Your core should start blinking purple. When it’s done uploading, your Core should reconnect to the Internet and start pulsing cyan. Wait a minute for your code to start sending data, then refresh your ThingSpeak channel. You should see a new data point!
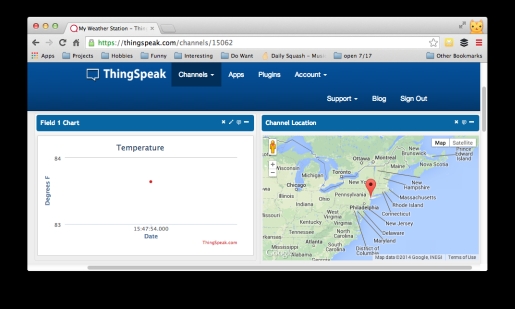
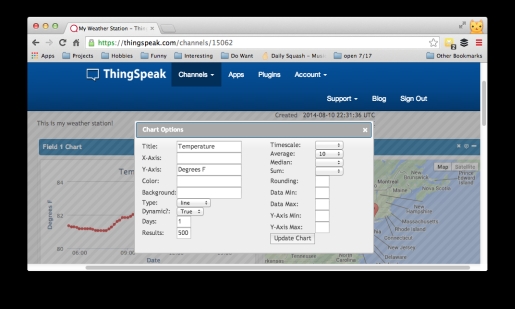
9) After you’ve amassed some data, go to your ThingSpeak Private View page, and click the edit icon (it looks like a pencil) above any of your graphs. Here you have different options for how your graph is displayed. Here, I set the Average to 10 and the Results to 500, this gives me a smoother line going back to this morning:
10) Time to put it all together and stick it outside! First, you’ll need a weatherproof enclosure. Follow our battery case tutorial to get your enclosure started. For the weather station, we’ll also need to get two RJ11 (phone line) connectors into the box, for our wind and rain sensors. Unfortunately, unlike the power cable, phone cables are a pain to chop and re-connect, and crimping a replacement connector requires a special tool. Since there were eight wires we decided to use a waterproof 8-pin plug. It takes a little extra soldering but it’s well worth it to be able to separate the sensors from the enclosure.
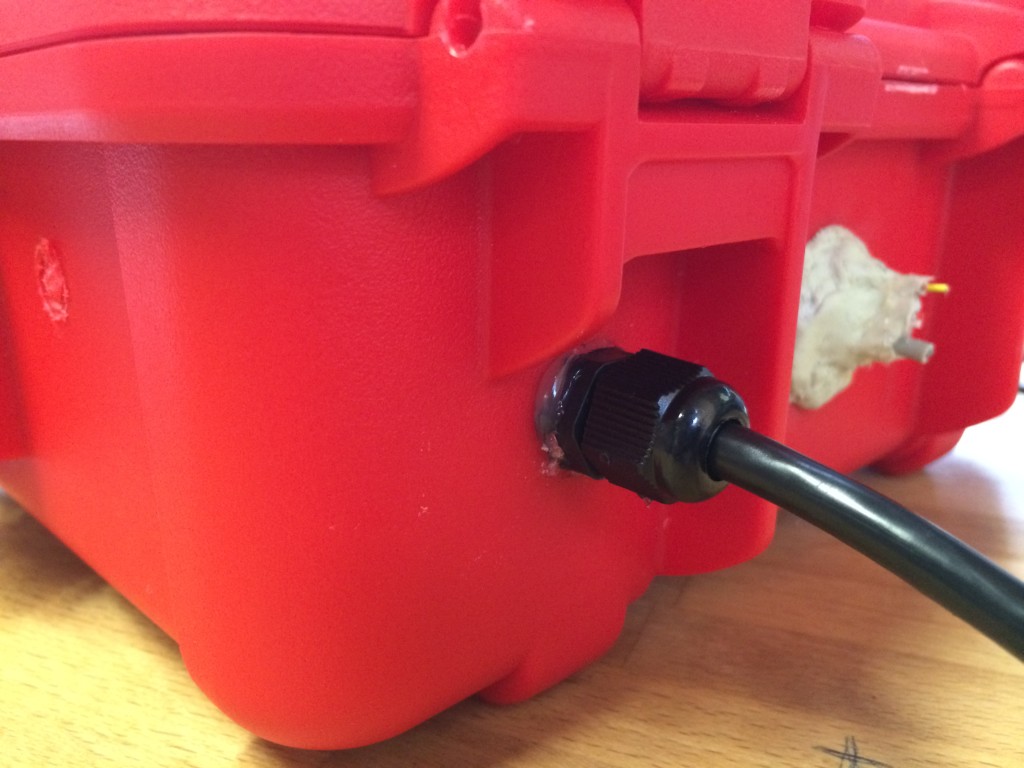
We drilled a 7/16″ hole in the side of the case to to accommodate the gland and connector. Once inside, we applied silicon around the base and tightened it down with a crescent wrench.
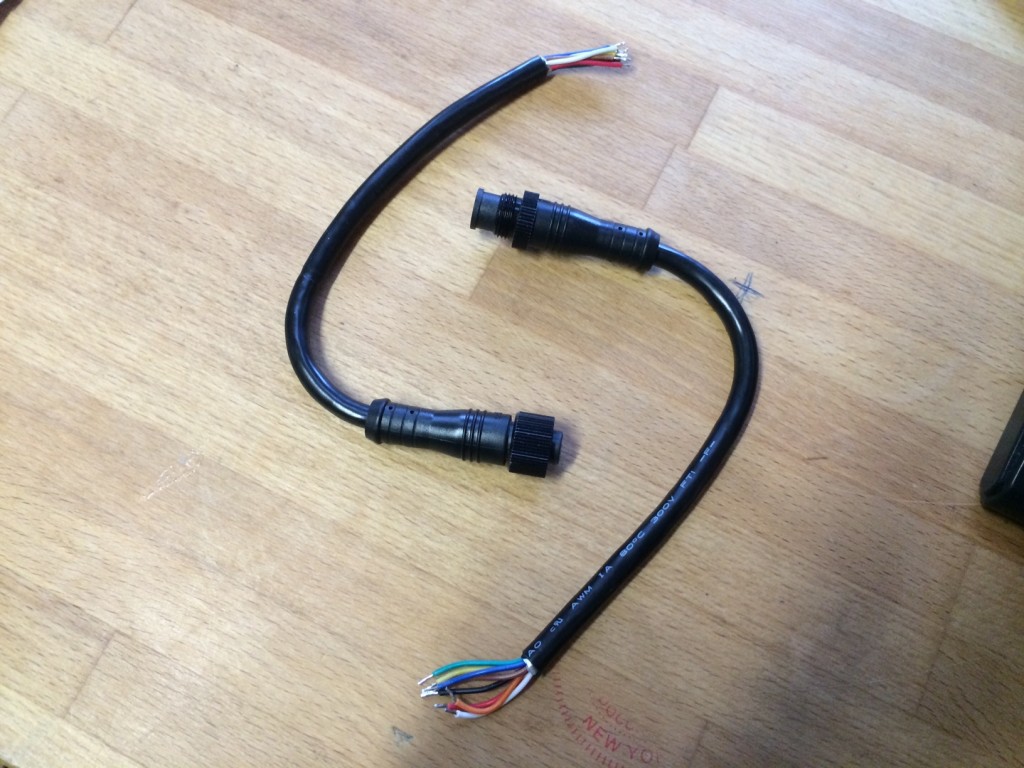
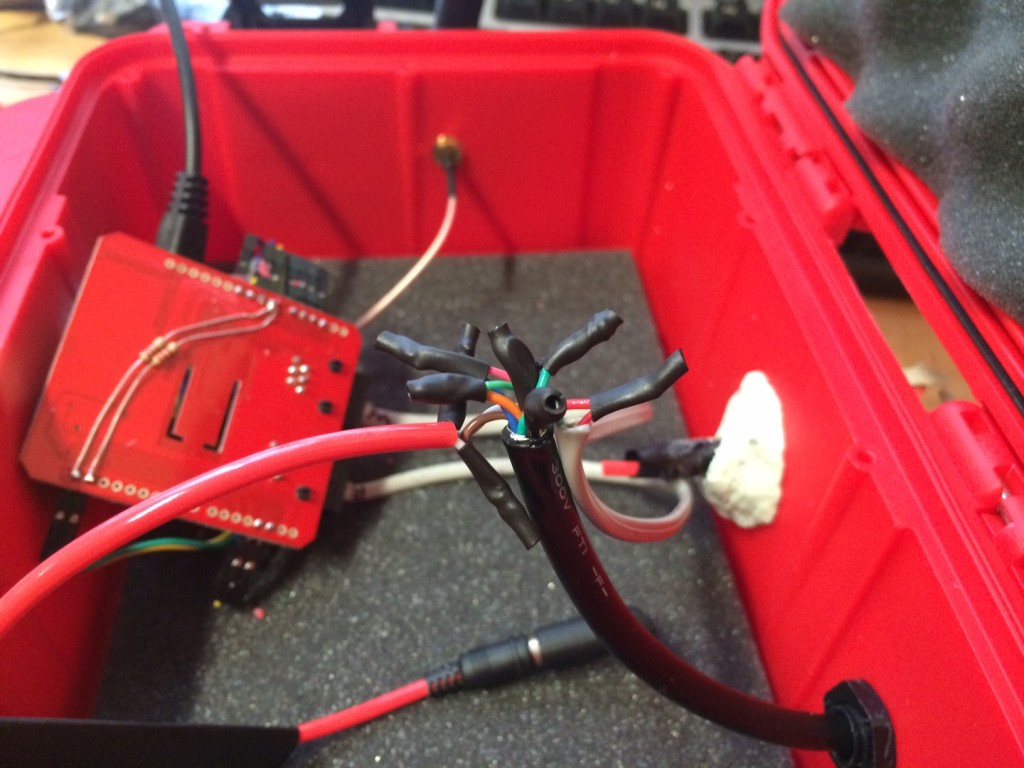
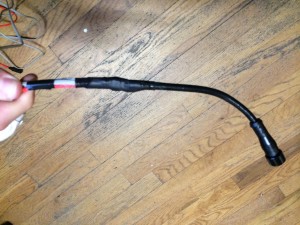
11) Once you pass one side of the connector through the enclosure you have to solder everything together; do the same for the wires going to the weather station sensors. On the inside and outside pieces we covered the tips in heat shrink tubing for more insulation, and on the outside we used large diameter heat shrink as well as wrapping it all in electrical tape. We also added a separate hole for our external antenna. The external antenna will help with reception if you plan to mount the box on your away from your access point. If you go for the Spark Core with the built-in chip antenna, you don’t need to drill a separate hole for an external antenna.
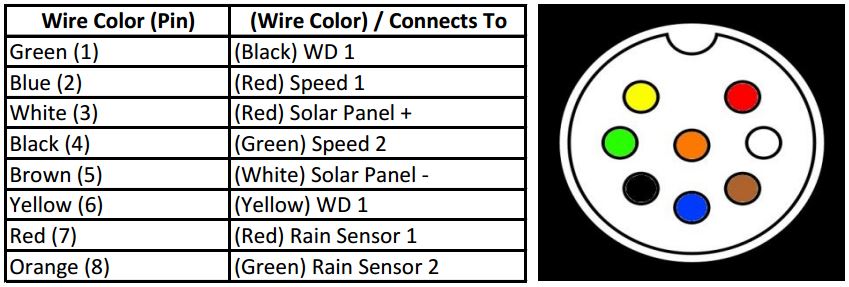
You can follow my diagram below. !!!NOTE!!! Your wire colors may vary depending on the manufacturer of your RJ11 and your 8-pin connector.
11) Plug your Voltaic solar panel and Spark Core into your Voltaic battery. If it’s sunny, you should see the battery charger indicator start to light up. Next, hold down the power button for six seconds, until you see the LEDs flash three times. This is “Always-On” mode, meaning even if the battery goes flat it will automatically start supplying power to the sensors once the sun comes out again.
That’s it! Enjoy your new Voltaic Systems solar-powered weather station!
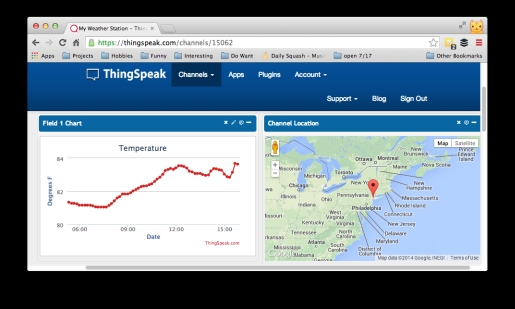
You can view the weather conditions on our ThinkSpeak channel here: https://thingspeak.com/channels/15062 The channel’s measurements are off due to some limitations with ThinkSpeak… but you can see that it is sensing and running from solar only.
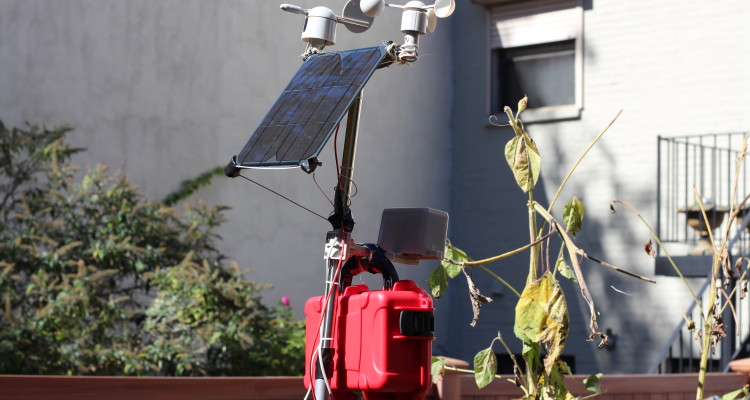
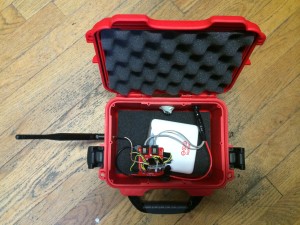
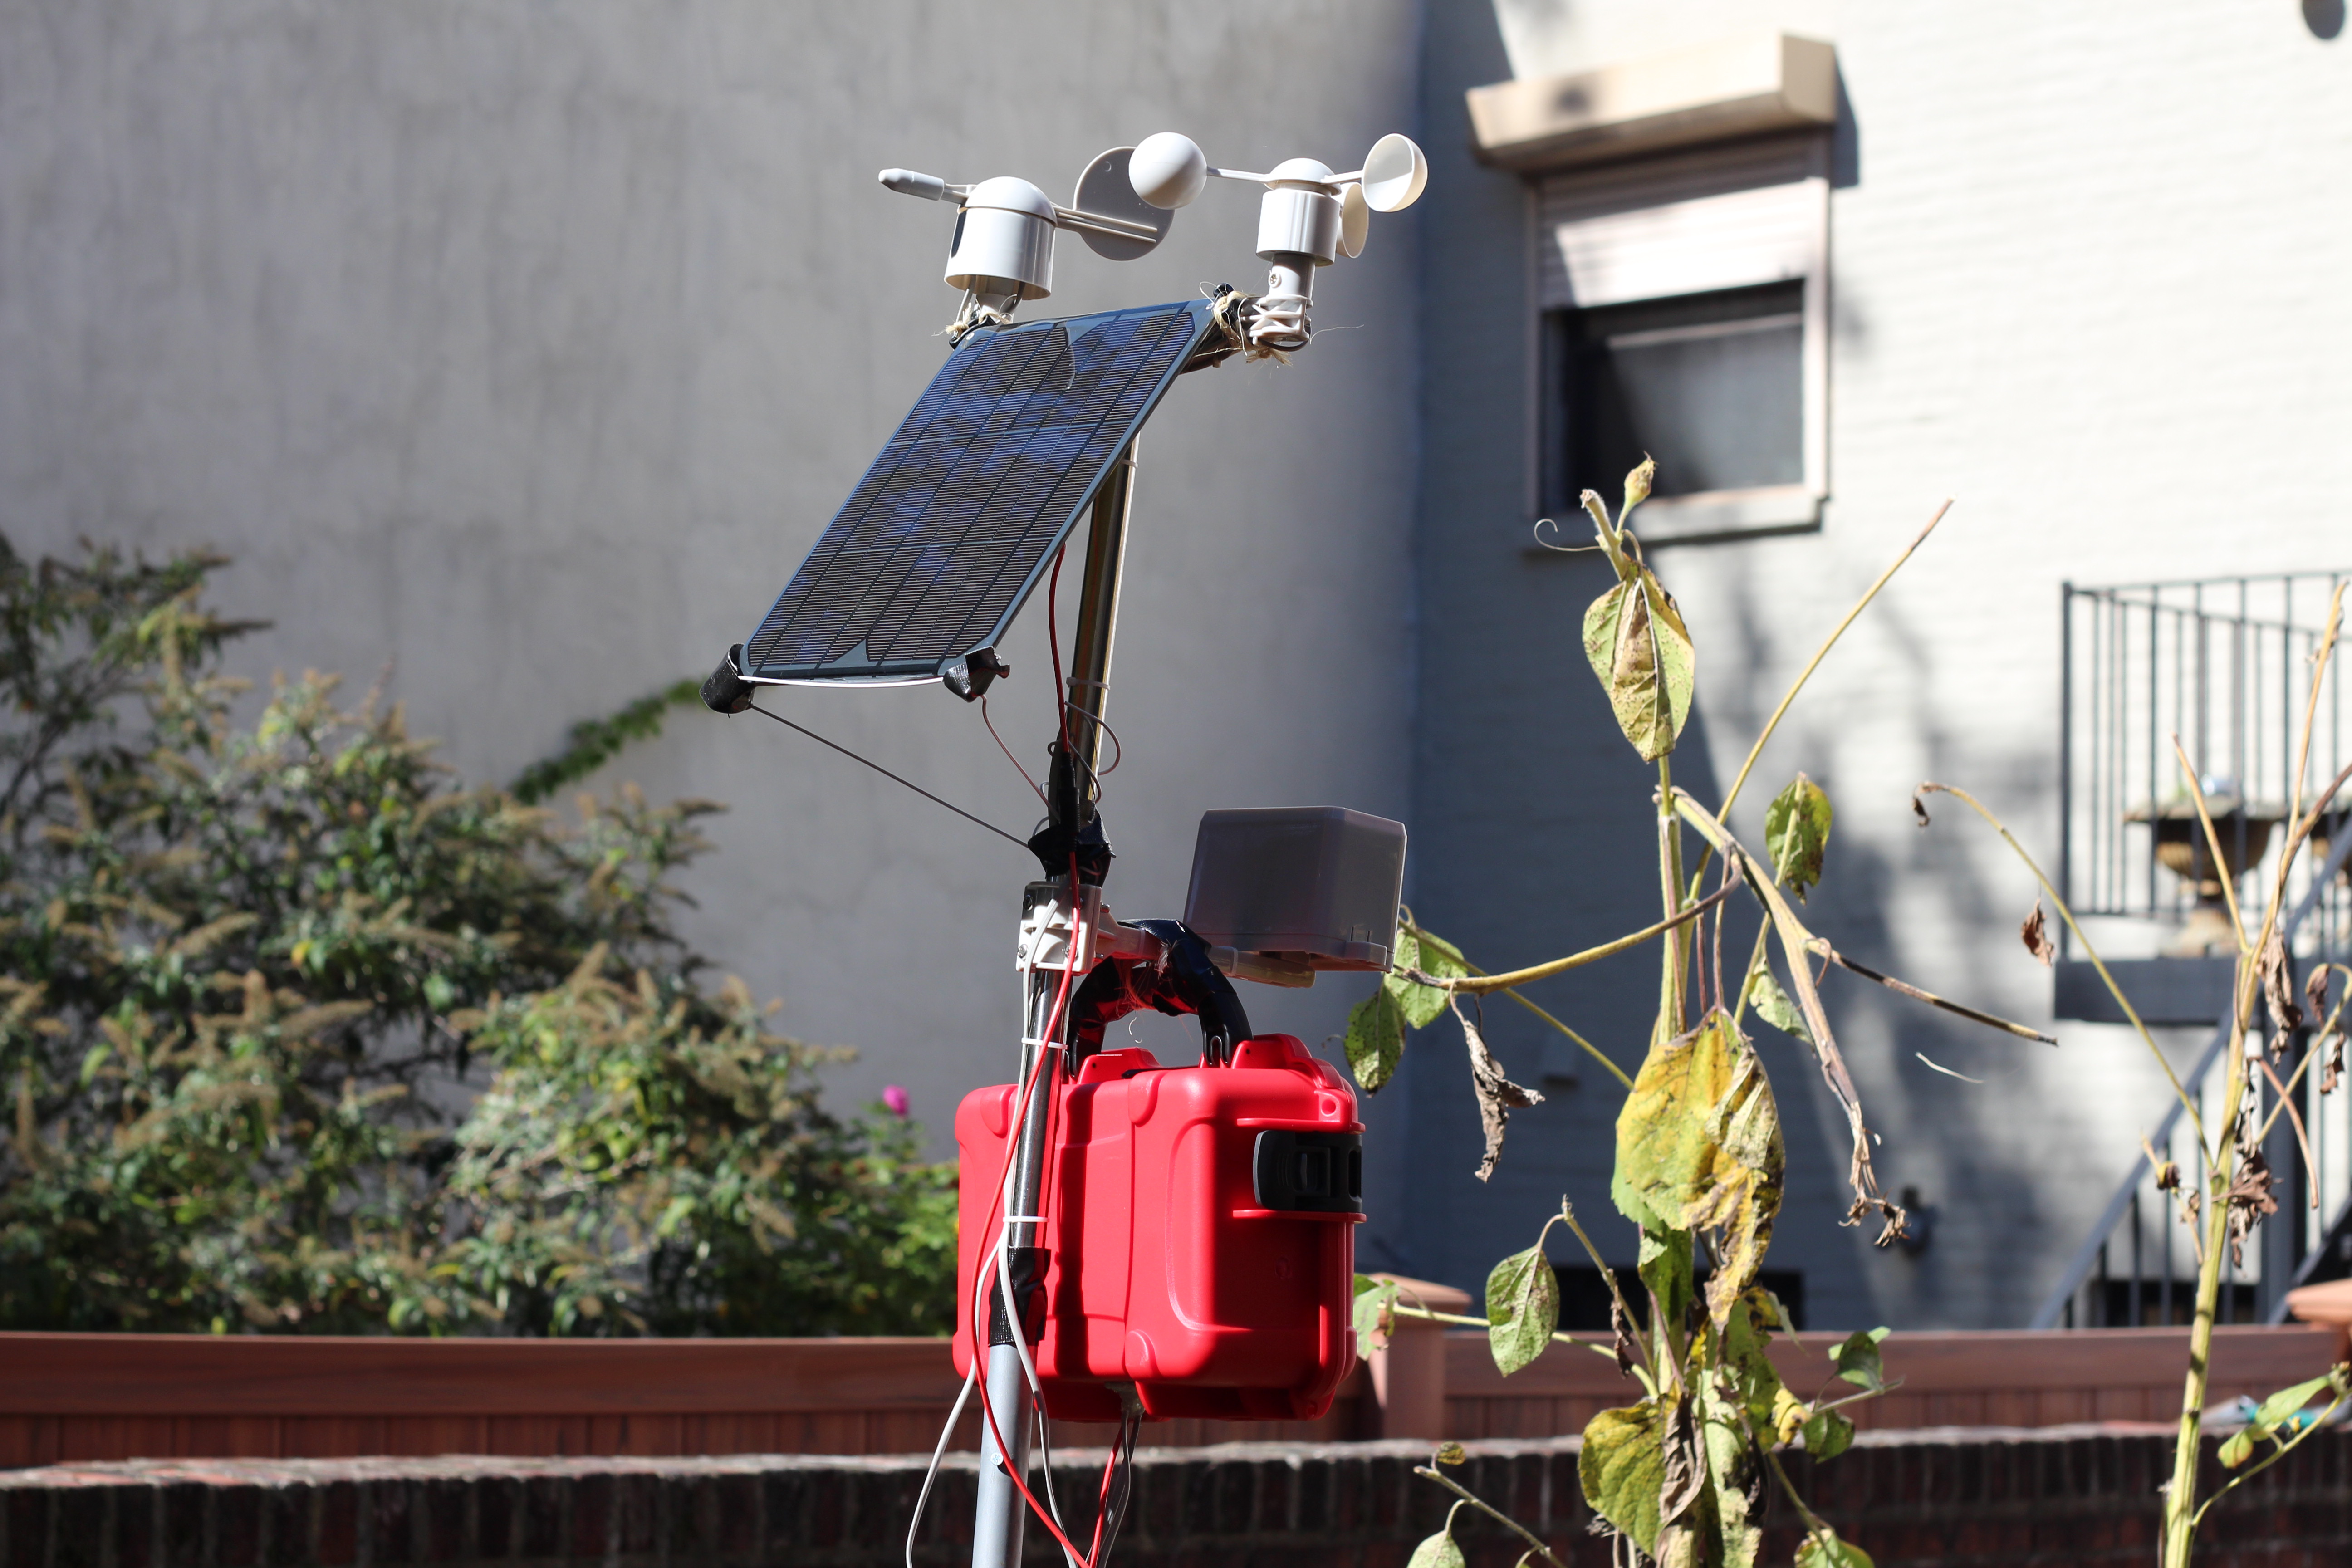
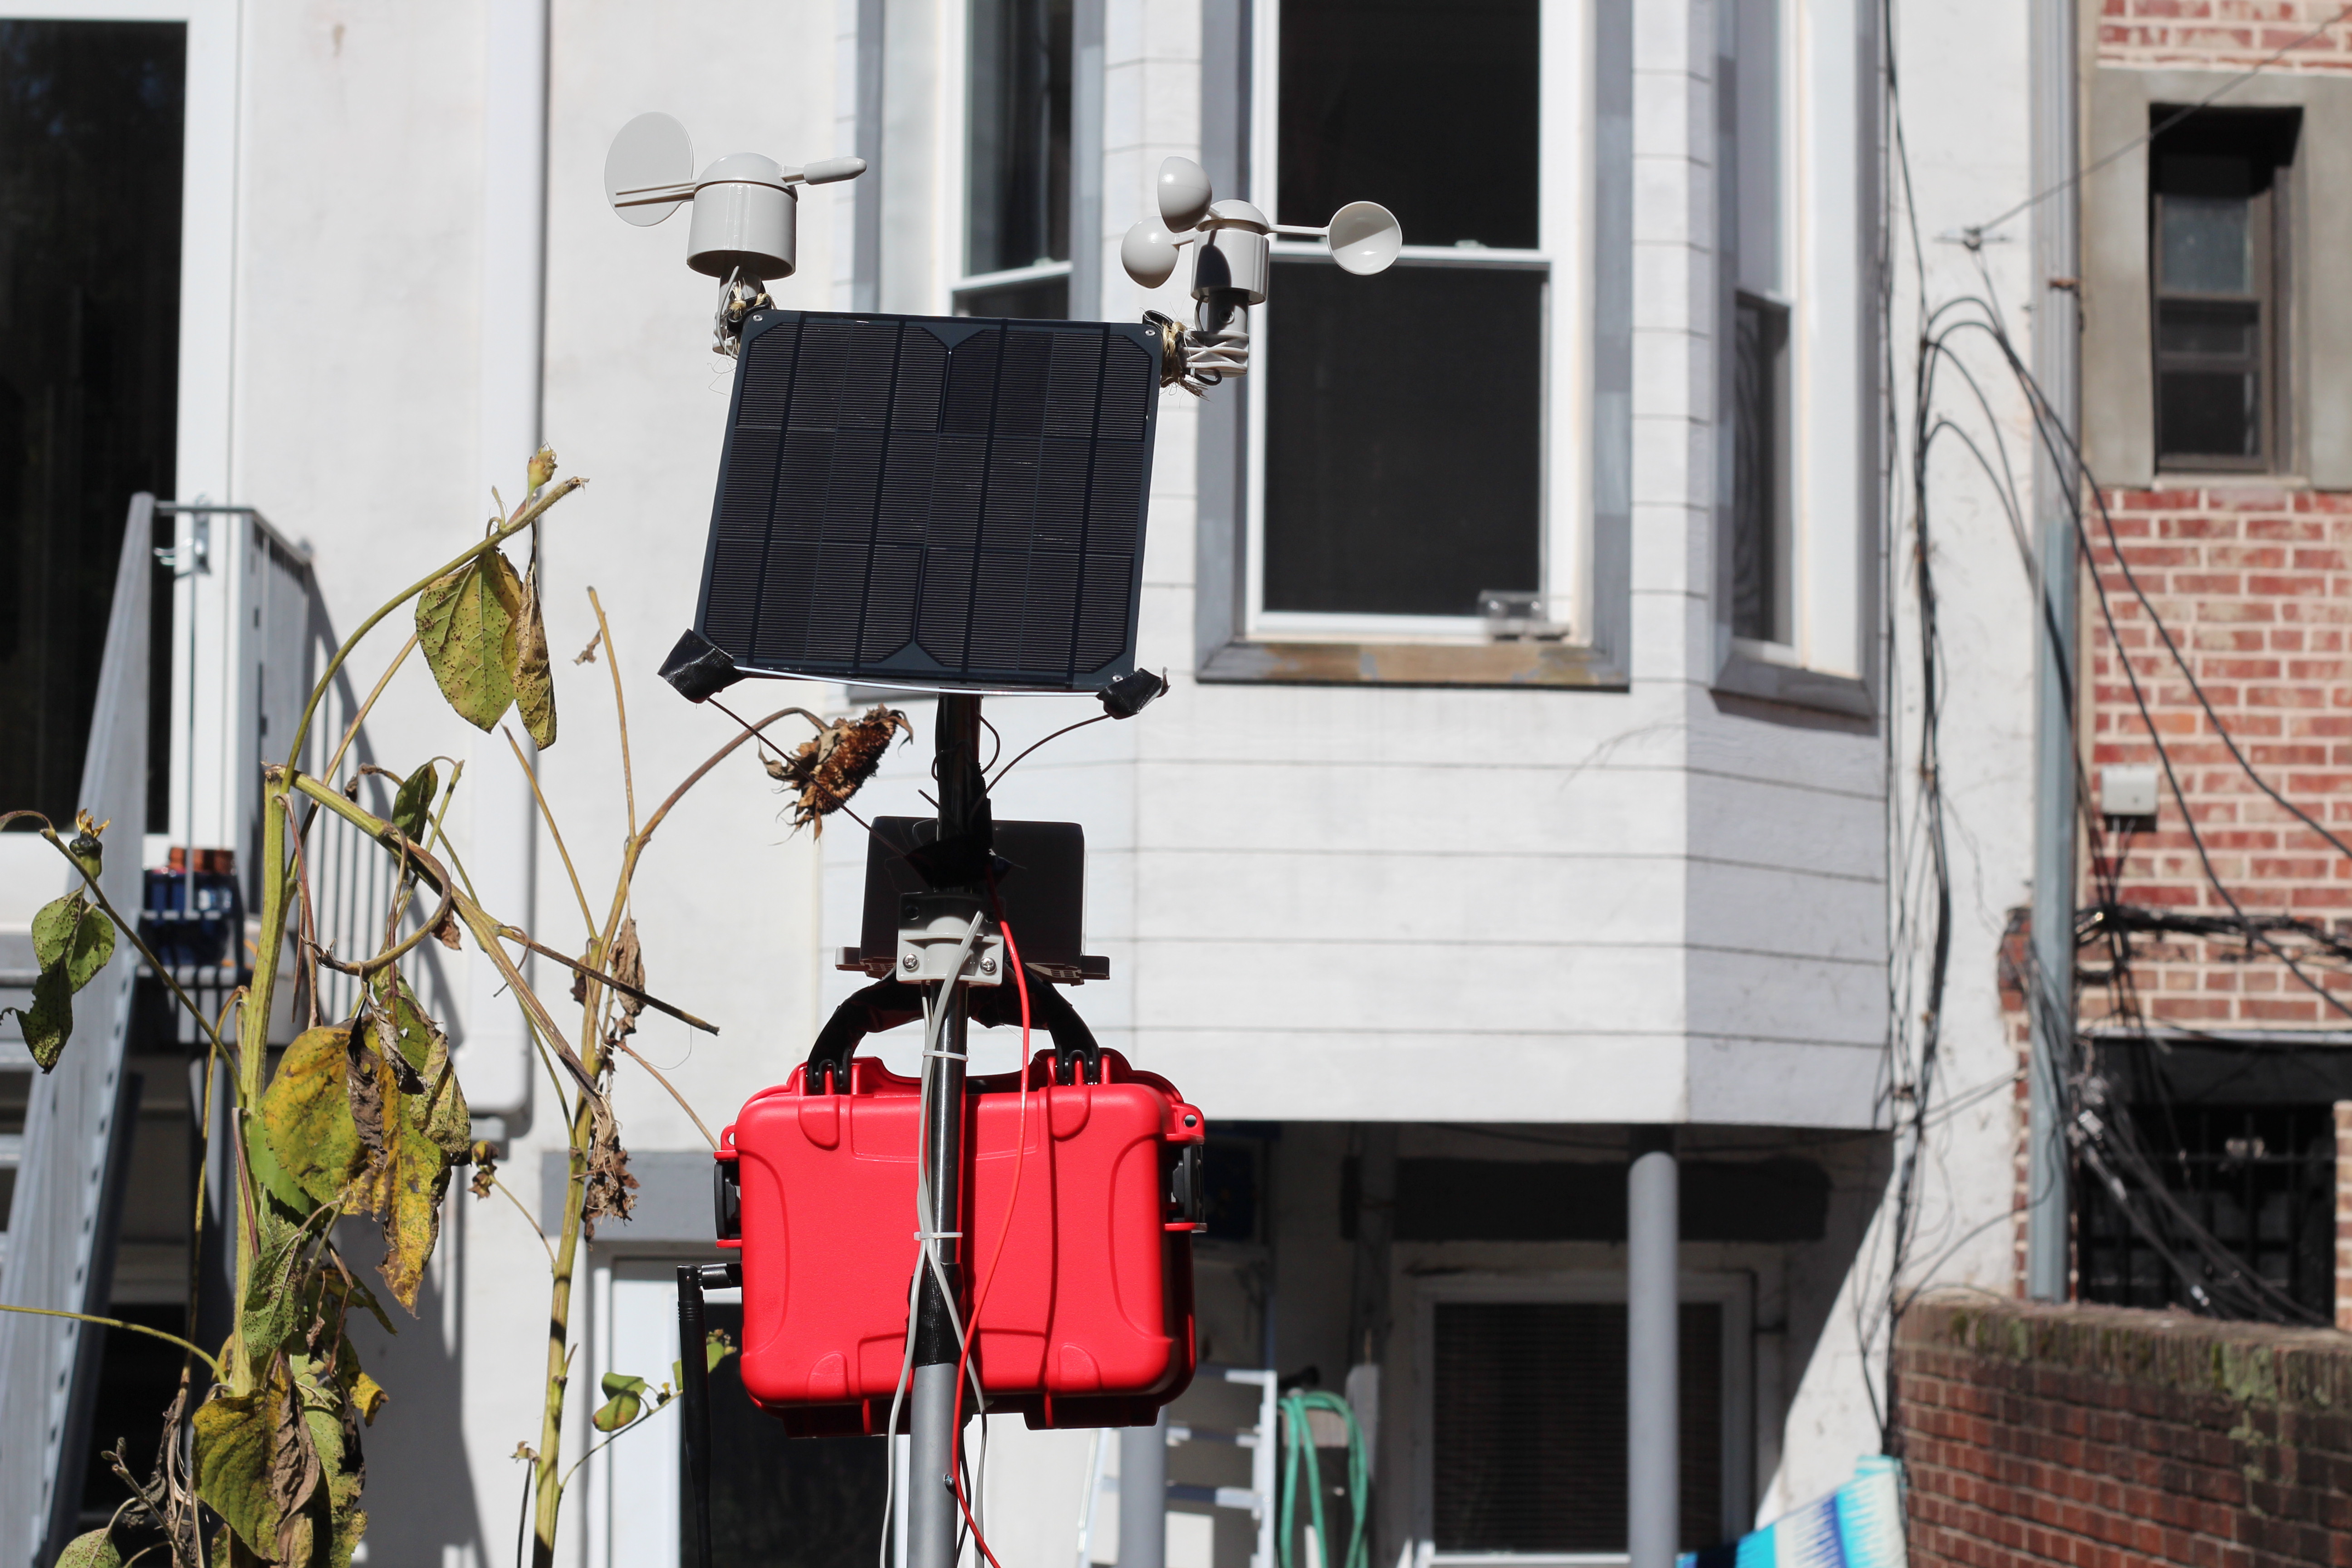
Here are a couple photos of our station in wild ole Brooklyn!
How accurate are the humidity and temperature readings from inside the case?
Directionally accurate, but definitely not perfect. We were more interested in the power consumption side of things then the sensor calibration. I haven’t researched this area, but there must be a good way to put temp / humidity sensors outside.
Nice work and excellent tutorial – thank you for posting.
Code looks great – I had to modify the WDIR pin input since the weather shield I have puts the WDIR at A0, not A5. Not sure if this is common but posting in case someone else has the same shield.
Hi there,
wonderful project! Just wondering one thing: from the weather shield specifications it seems that the analog channel can go up to 5V, which should be above the spark core specifications for analog inputs (3.3V).
Did you experienced any issue or everything is running smoothly 🙂 ?
So awesome, would be great to put one up on Mt. Whitney portal.